
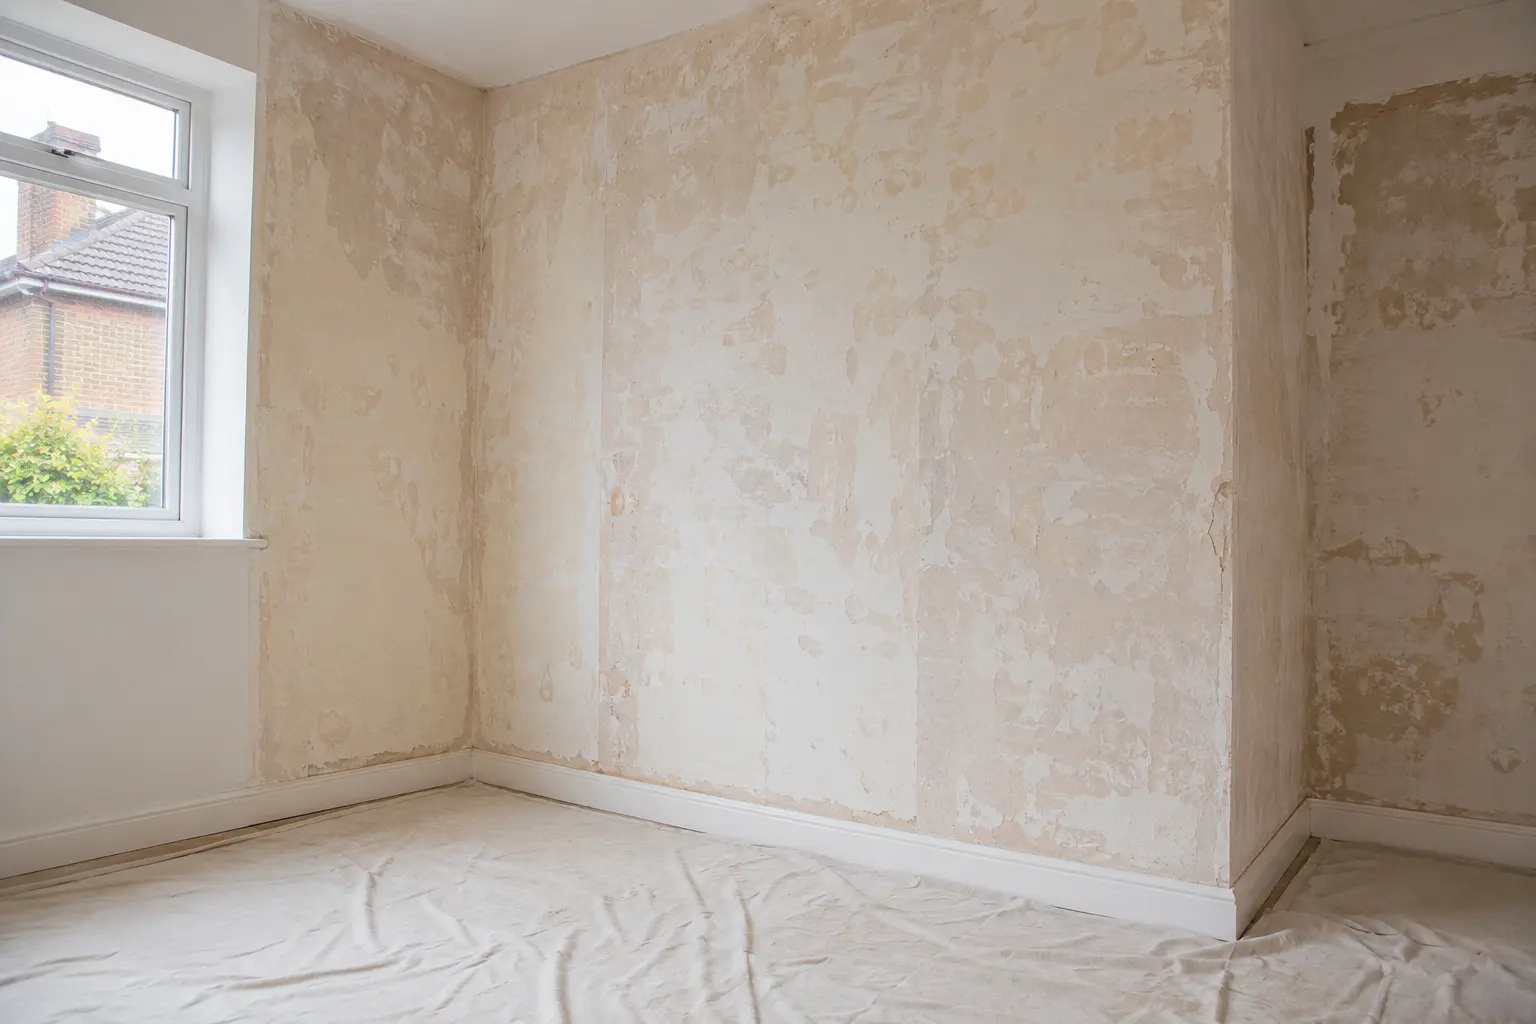
When you’ve stripped the textured wallpaper in your hallway, staircase, or any room in the house you recently bought, you might discover various imperfections underneath. While plastering walls is one of those tasks even experienced DIYers dread, leaving your walls unattended isn’t an option. Traditional whole house renovation involving professional plastering services can be pricey, especially when you need 4 rooms done at once. If you’ve been quoted a high price to get your walls skimmed over but can’t afford it in the near future, there are several alternative methods to transform your space.
Taking matters into your own hands with a DIY renovation is entirely possible even with varying skills. Interior experts suggest that with the right techniques and materials, you can fix uneven walls that are in decent condition with minor scratches. Consider using thick paint with a primer and undercoat as a cheaper alternative to skim coating. While learning to skim myself is not easy and requires years of practice, other DIY methods like applying drywall mud instead of plaster can effectively hide imperfections and deep scratches. Using a steamer and putty knife for proper wallpaper removal helps avoid damaging the underlying surface. These approaches work whether you’re improving walls in the US or the rest of the world, even when dealing with covering brick wall surfaces or filling holes in Old Houses.
Not sure whether a DIY fix or professional plastering is right for your walls? Get in touch with our team for expert advice, or see our plastering services in Cobham.
Joint Compound: The DIY Wall Smoother
Applying Compound for Professional-Quality Surfaces
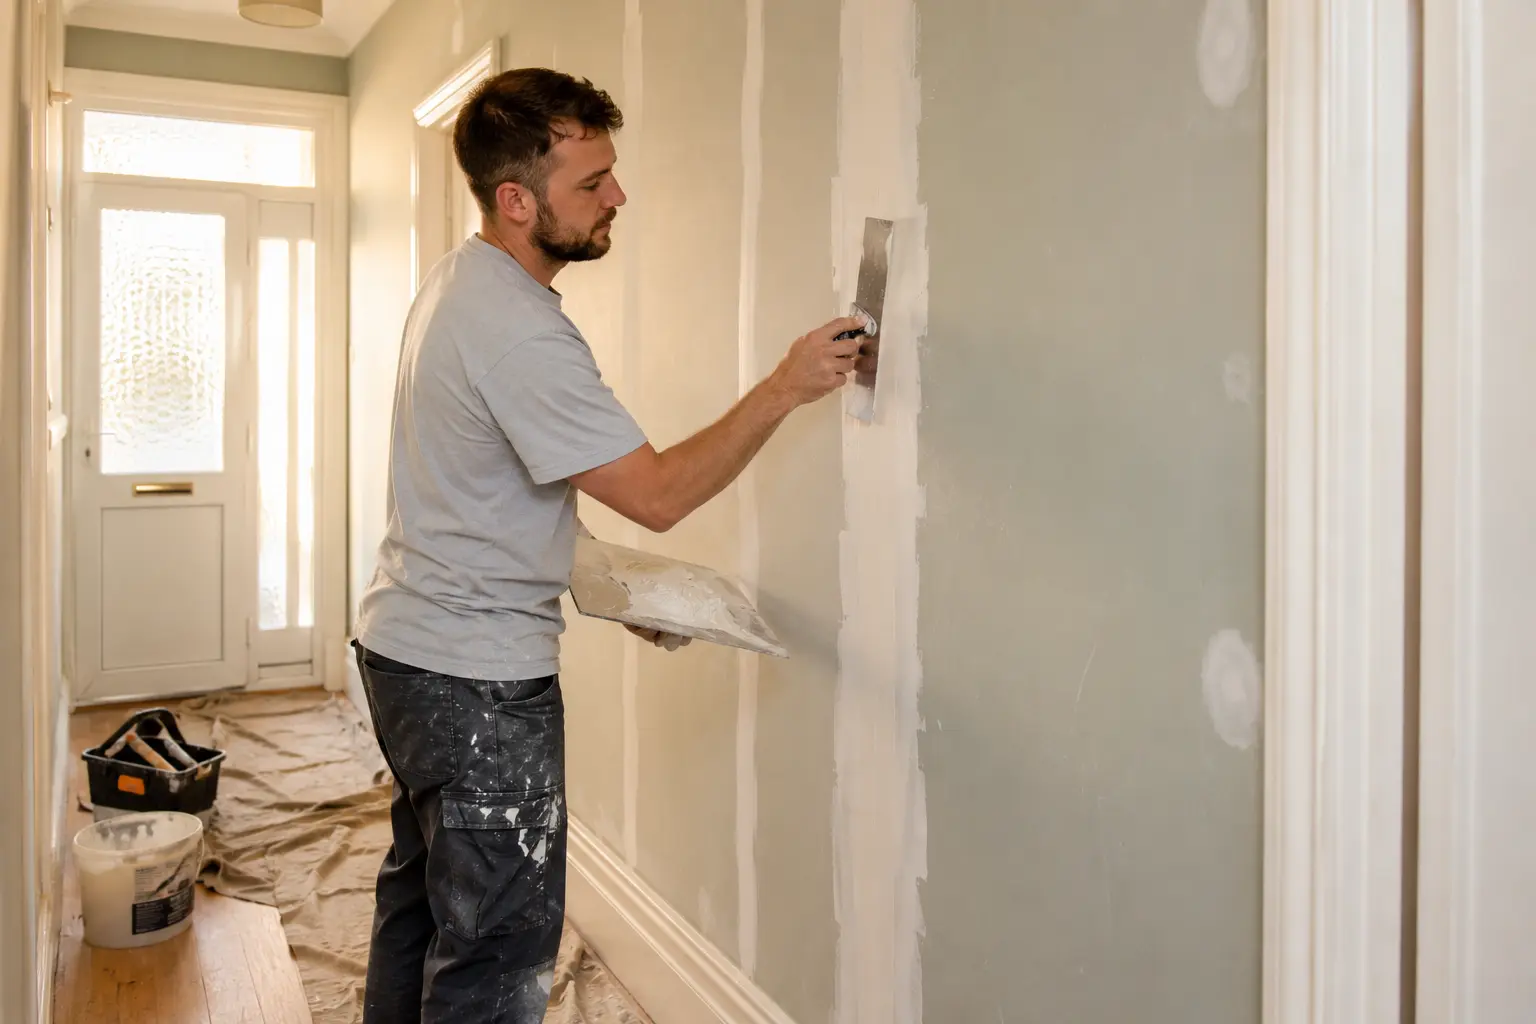
Joint compound offers an excellent alternative to traditional plastering when you’re working on your first house remodel or trying to fix peeling plaster wall sections. As home improvement specialists explain, this versatile material is perfect for both filling joints between plasterboard panels and creating a smooth coat over an entire wall. After you’ve stripped and dumped a tonne of old plasterboard from your loathed internal stud framework, applying joint compound with a trowel or putty knife creates a similar finish to professional skimming but is much easier than traditional plaster work. The process involves spreading a thin layer on the wall surface evenly, letting it dry for an hour, then sanding with sandpaper before you repeat these steps until satisfied.
This DIY approach is particularly valuable when remodeling spaces like a bathroom or covering basement walls in older century homes where you might have painted over vent covers or need to address various gaps and holes. According to designers, joint compound can seamlessly fill minor wall flaws, creating a pristine canvas for color application whether you’re a homeowner or just renting. It’s also a stronger alternative to plaster of paris for certain crafts and repairs. When considering your options for wall materials, joint compound requires multiple coats for a truly smooth finish but creates less mess than traditional methods. Once primed and painted, the results can transform spaces from ordinary to exceptional whether you’re working with standard drywall or specialized Gib products common in NZ. Once your wall is smooth and fully dry, our guide on painting new plaster covers the correct mist coat and painting process in detail.
Sanding Solutions for Wall Restoration
Transforming Rough Surfaces with Targeted Abrasion
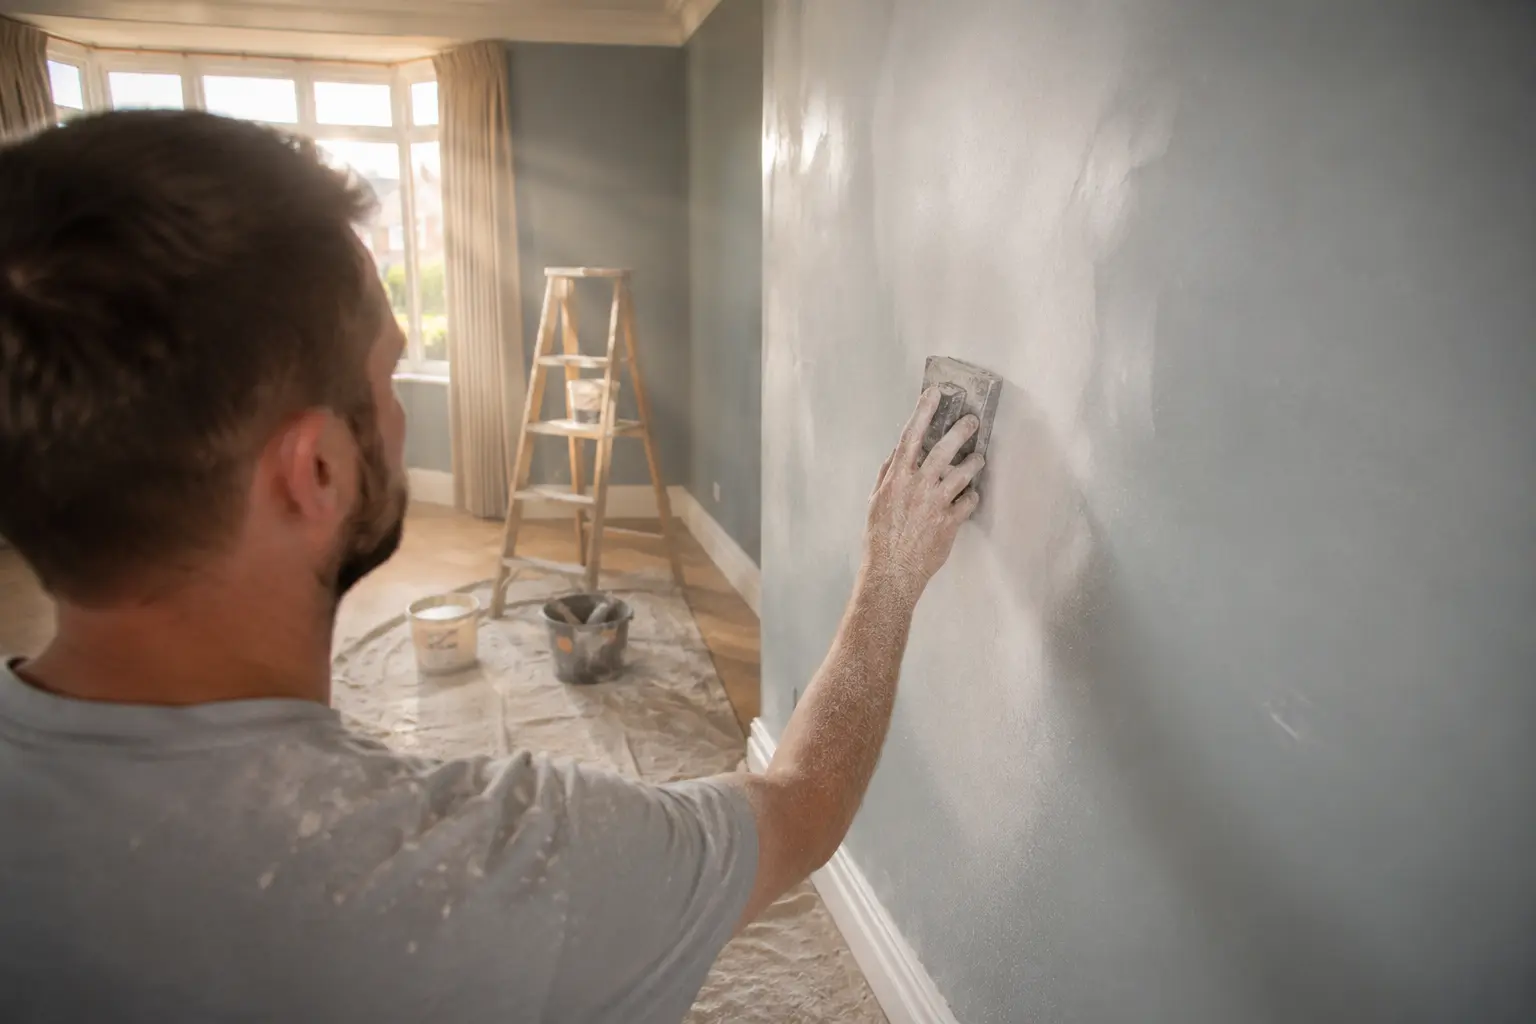
Sandpaper remains one of the most effective tools for smoothing old walls without having to mess around with plaster or adhesives. According to an expert, using 100-120 grit sandpaper before applying paint or a proper coating can address minor imperfections with surprising efficiency. While tackling larger surfaces presents a challenge that might require additional filler products, the process of sanding down rough patches delivers remarkable results for those willing to invest time rather than money. This approach is particularly valuable when working with historically significant surfaces where preserving character while improving functionality is essential.
Creating nice, smooth walls requires significant elbow grease, but remains a viable option for restoring old surfaces when you select the suitable grit for each stage. Begin with coarse sandpaper to remove old finishes, then progress to finer grades for final smoothing. As you prepare each wall section, be mindful that this method will produce considerable dust throughout your workspace. The resulting surface will provide an ideal foundation for paint application, often achieving a finish that rivals professional plastering at a fraction of the cost. The key lies in patience and technique working in consistent, overlapping patterns and recognizing when a section has been adequately refined before moving on to coarser or finer abrasives as needed.
Lining Paper: A Quick Alternative Worth Considering
Lining paper is another popular DIY alternative to full plastering, since it creates a smooth surface for paint or wallpaper without the cost or skill required for a full skim coat. It’s particularly effective at covering minor cracks and surface irregularities on walls that are otherwise in decent condition.
For a complete breakdown of lining paper grades, how long it lasts, and how to apply it correctly, see our dedicated guide: Lining Paper – Everything You Need to Know.
Precision Patching: The Dab Method
Strategic Spot Repairs for Troubled Wall Areas
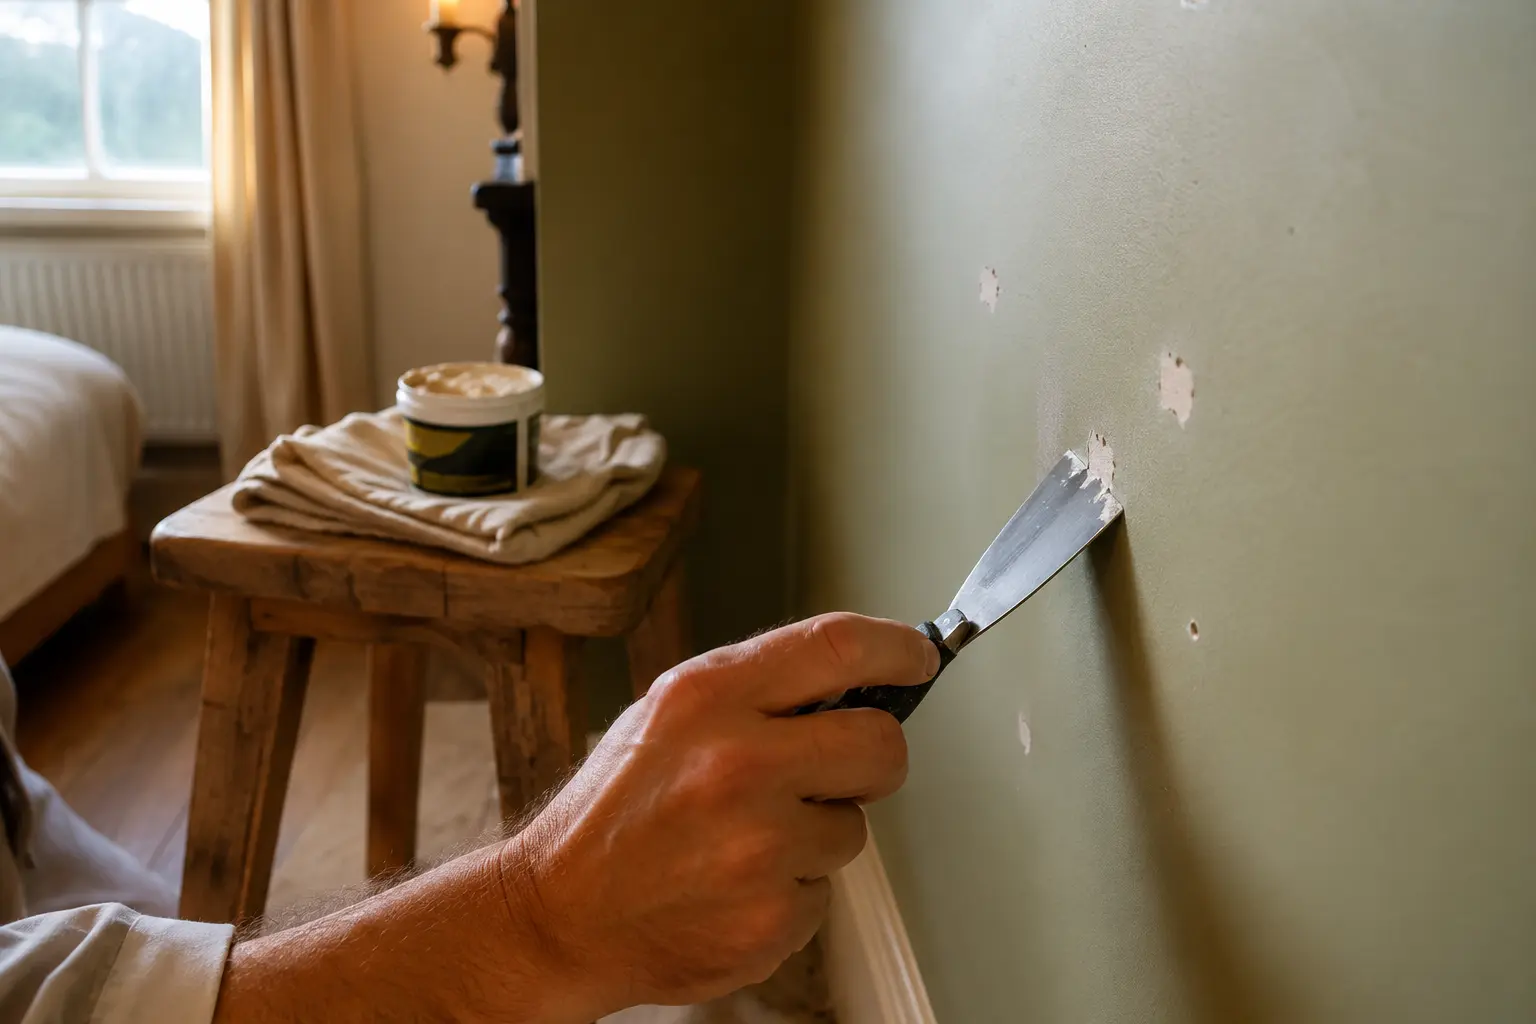
The dabbing and dotting technique represents a clever alternative to full wall plastering that focuses on targeted repairs rather than complete surface overhauls. This strategic approach allows homeowners to address specific problems without the mess and expense of traditional methods. Rather than covering the entire surface, you simply dab small amounts of plaster precisely where needed, creating a thin layer that blends seamlessly with surrounding areas. The method excels at smoothing out isolated rough patches, minor dents, and shallow surface irregularities that would otherwise require comprehensive treatment.
Success with this technique depends on proper tool selection and application precision. Using a putty knife or specialized scraping tool to apply and blend the compound makes achieving a perfect finish much more manageable. The dabbing method proves considerably better than leaving holes or imperfections exposed on your walls, especially when preparing for painting or wallpapering. Professional contractors often use this approach for maintenance work in older properties where full replastering would be unnecessarily disruptive and costly. By focusing only on problem areas, the dabbing and dotting technique preserves the character of vintage walls while addressing specific functional issues striking an ideal balance between restoration and preservation that more aggressive approaches cannot match.
Dimensional Solutions with Wall Coverings
Transforming Spaces Through Architectural Paneling
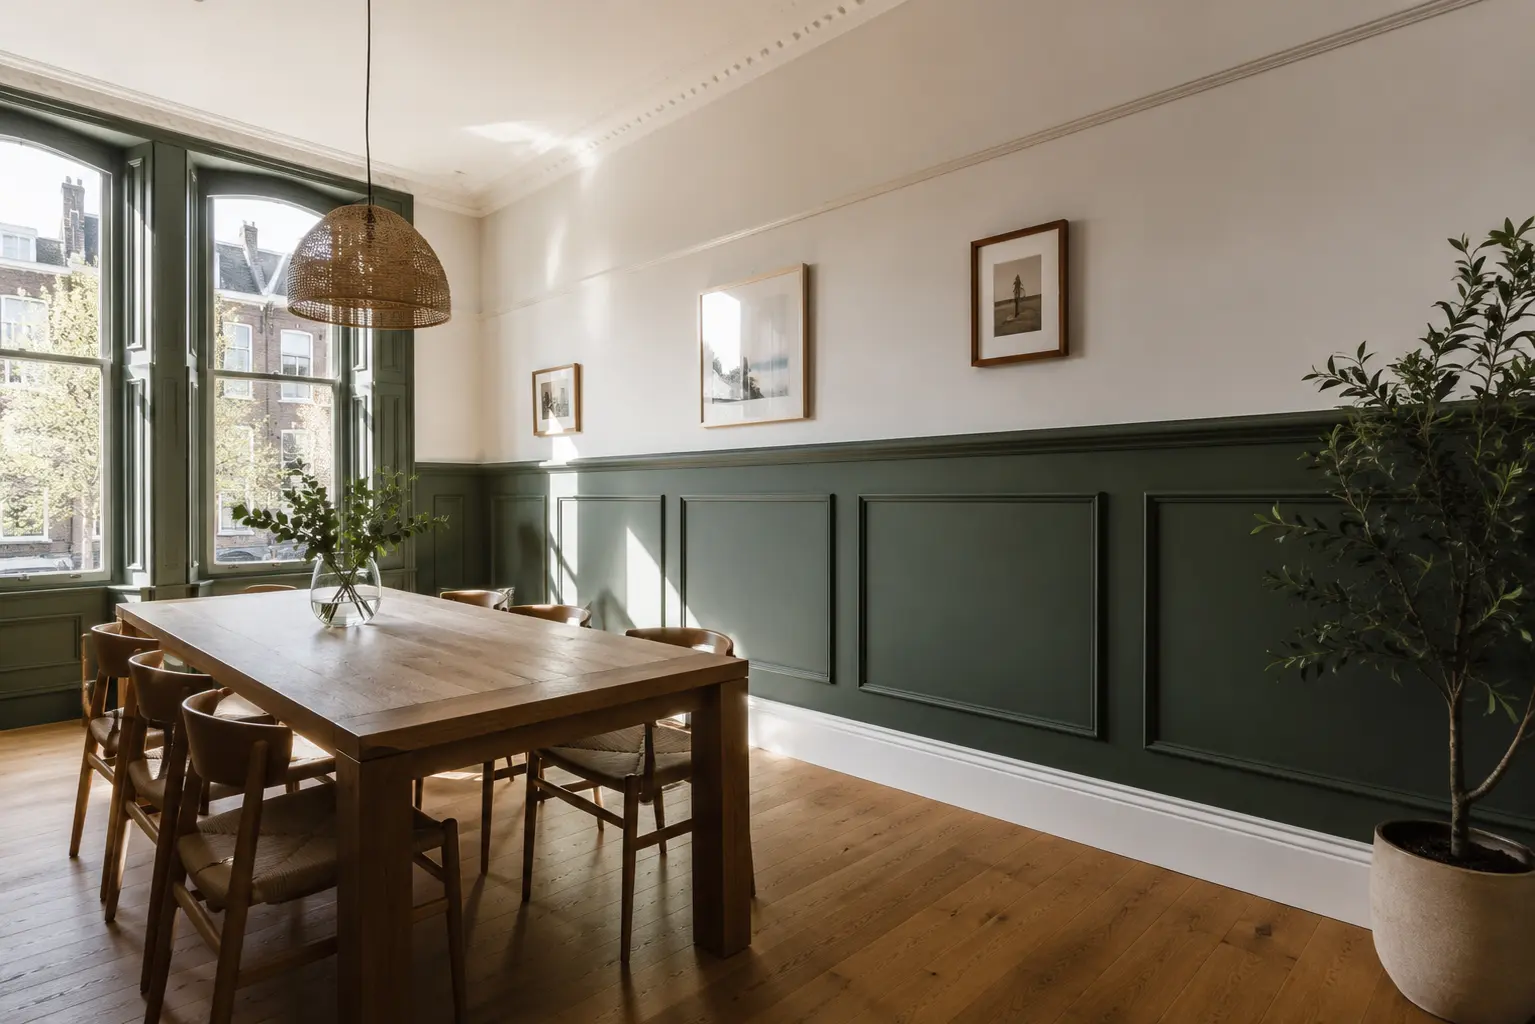
Wall paneling offers a sophisticated method to achieve a whole new look without the labor intensive process of traditional plastering. Unlike temporary solutions like lining paper, quality panels provide a traditional finish or create striking modern looks depending on your design preferences. Materials like beadboard and wainscoting can be applied directly to old walls to effectively cover a multitude of sins hidden beneath. This approach doesn’t merely mask problems it transforms them into design features that add architectural interest and value to spaces that previously appeared tired or damaged. Once installed, these surfaces can be customized with paint in any color scheme to compliment your interior design vision.
For homeowners looking for a permanent alternative to replastering, the decision to install wall panels allows you to completely cover over an old surface and hide imperfections without extensive preparation work. Modern panelling comes in a massive variety of shapes, sizes, and designs to suit any aesthetic from rustic farmhouse to sleek contemporary styles. While beadboard remains particularly popular for its versatile charm and relatively straightforward installation process, more elaborate panel systems can create truly custom environments. Professional installers recommend measuring carefully and creating a detailed layout plan before beginning, as proper alignment creates the refined appearance that makes this solution so attractive to designers and homeowners alike.
Strategic Painting: Direct Surface Transformation
Leveraging Specialized Paints for Problem-Free Finishes
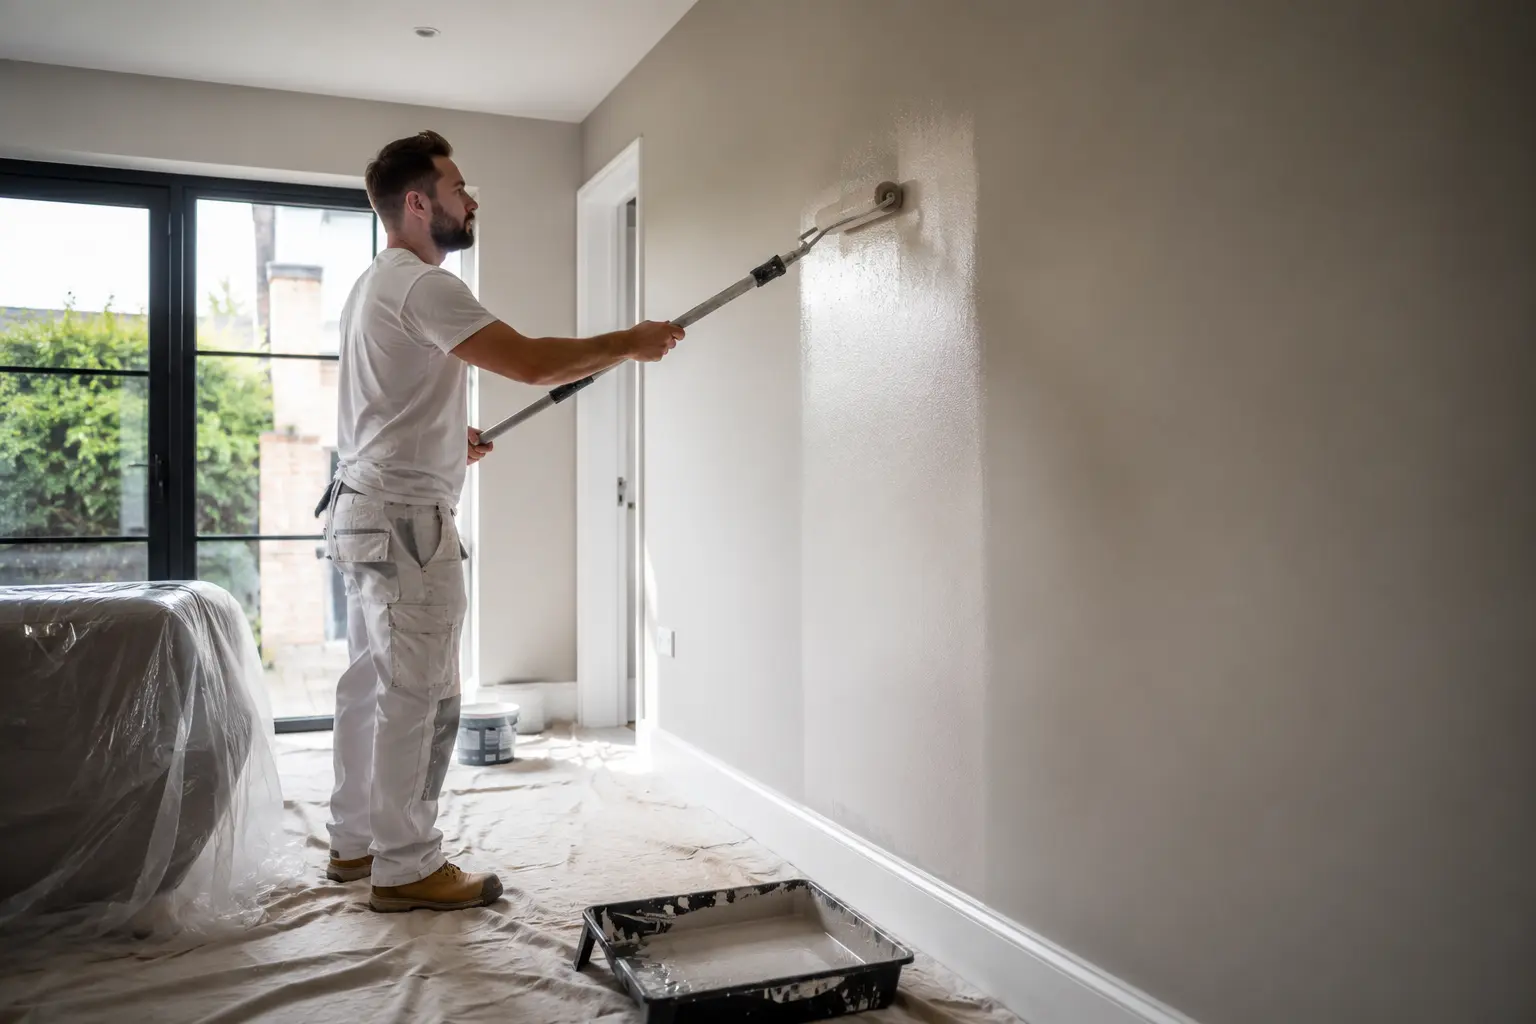
Skipping the dirty work of plastering and heading straight to painting can be a practical approach when your walls are in pretty good shape but need refreshing. While this alternative is not always ideal for severely damaged surfaces, it offers remarkable efficiency for spaces that don’t require extensive repair. Home improvement experts agree that when walls are in generally good condition without big issues like deep cracks or big holes, a high-quality coating can create impressive results. The key lies in proper preparation; you’ll still need to sand rough areas lightly to achieve the desired effect but the simplicity of this method makes it attractive for DIY enthusiasts working with limited time and resources.
The decision to simply paint a wall rather than restructure it depends largely on your expectations and the existing surface quality. For a truly smoother finish, selecting the right paint formulation becomes critical. Many professionals recommend using a silk finish emulsion that contains light-reflecting properties to help disguise minor imperfections while adding subtle luster to the space. This approach works particularly well in rooms with favorable lighting conditions that won’t highlight surface irregularities. For spaces where you might eventually apply wallpaper, consider using a specialized base coat designed to improve adhesion while providing additional smoothing benefits. Remember that strategic paint selection can transform moderately imperfect walls from problematic to pleasingly textured without the mess and expense of complete resurfacing.
Conclusion
DIY alternatives like joint compound, sanding, lining paper, precision patching, wall panelling, and strategic painting can all be effective ways to transform walls that are in decent condition without the cost of a full re-plaster. However, for walls with more significant damage — deep cracks, damp, or crumbling plaster — these methods will only mask the problem temporarily, and professional plastering remains the more durable long-term solution.
If you’re unsure which approach is right for your walls, our team can assess your property and recommend the best option. Get a free quote or browse examples of our completed work on our projects page.